Coffee Corners
Coffee Bar Ideas for a Kitchen With No Spare Counter
This post contains affiliate links. As an Amazon Associate we earn from qualifying purchases, at no extra cost to you.
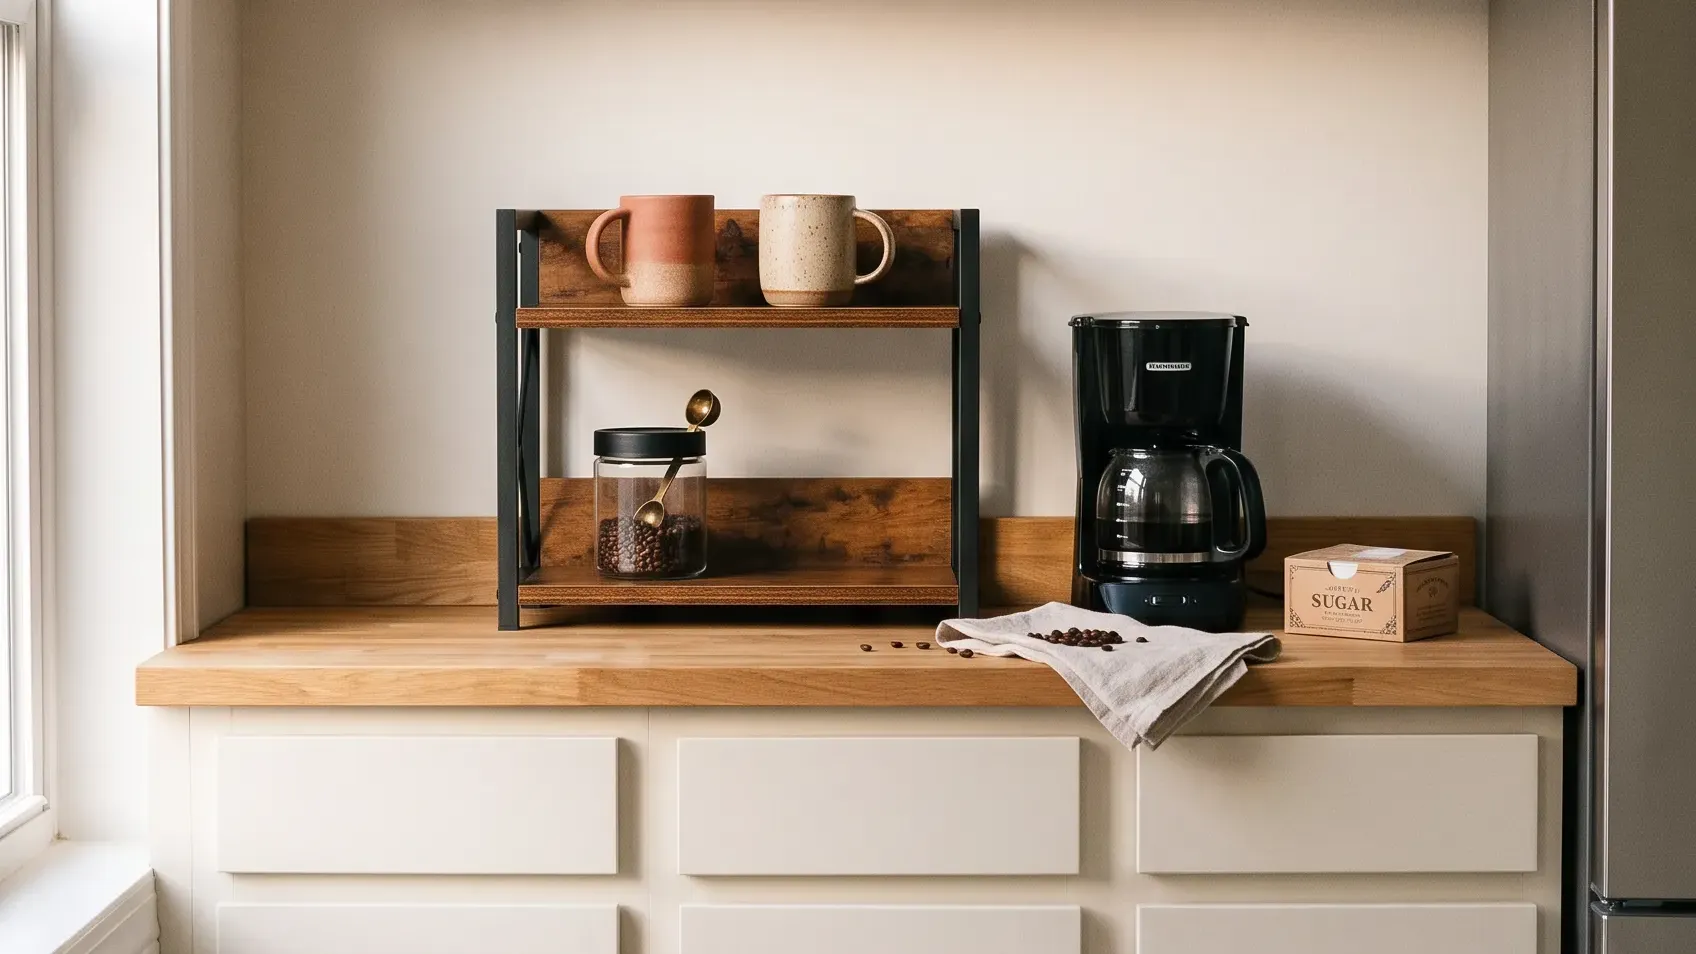
Most coffee bar ideas start with a counter you don't have. A long empty run of quartz, a cabinet built just for mugs. Then you look at your own kitchen and there's the toaster, the drying rack, and about the width of a cutting board left over.
Short version: a coffee bar is just a spot where everything for one drink lives together. So the first decision is a location, and three of them work in a kitchen with no free counter. Up on a riser, into the gap beside the fridge, or on the wall.
So this is organized by place, smallest to largest, because that's the part nobody solves for you. Each one is renter-safe, and none of them need a landlord's permission.
If you've already got the spot and you're stuck on what goes on it, the gear side is covered in our coffee bar essentials.
Where can a coffee bar go when there's no spare counter?
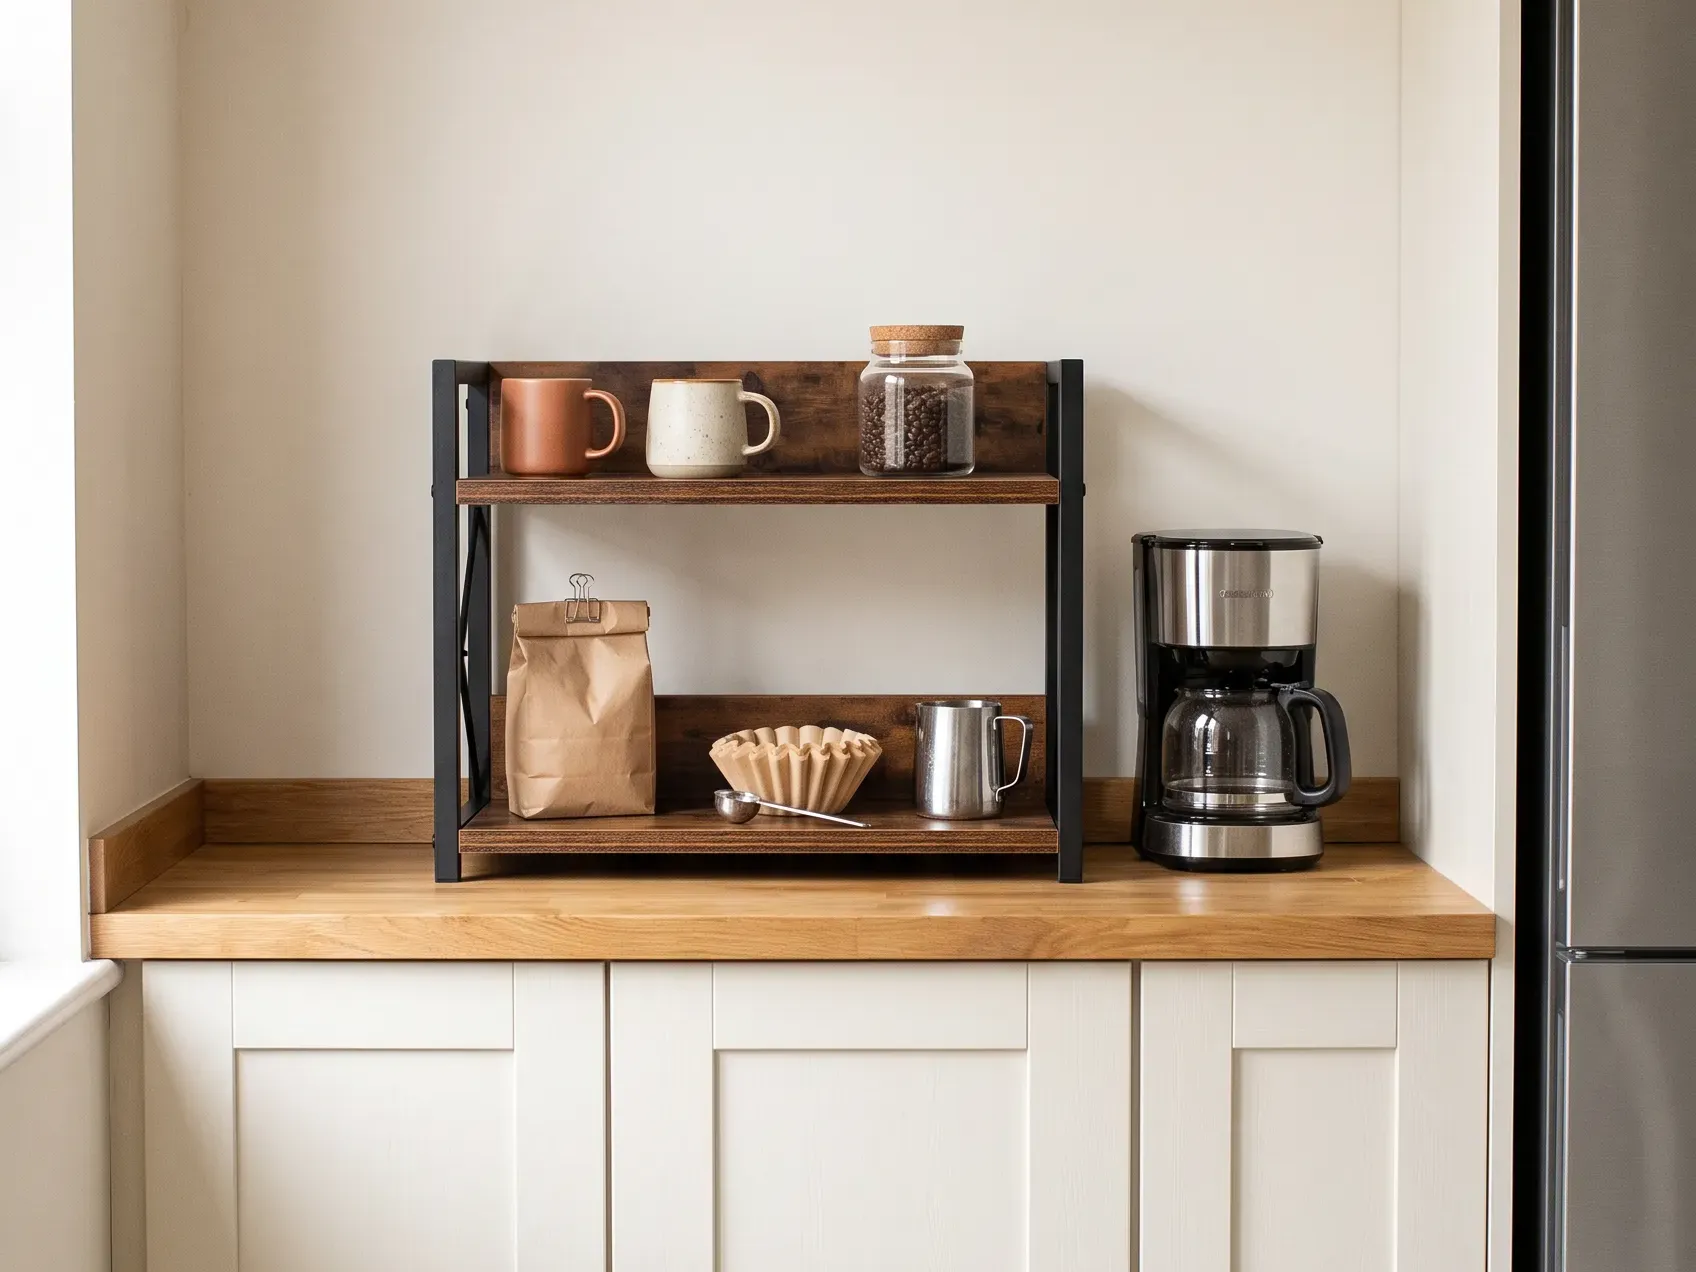
Go up, not out. A counter has one square foot of floor space and about two feet of unused air above it. A riser gives you a second level in the same footprint, which is the only free real estate a small kitchen has.
That single move is what separates a coffee corner from a pile of coffee things. The machine keeps the bottom. Mugs, jars and the little stuff move upstairs where you can see all of it at once.
- Measure the machine first, then the shelf. The gap under the top tier has to clear your brewer with the lid open, not closed. That is the mistake that gets these returned
- Keep the top tier shallow. Anything deeper than a mug turns into a place where things go to be forgotten
- Beans and mugs on top, the once-a-week things underneath
What about the jars that end up behind other jars? A turntable fixes that in a way a shelf can't. Syrups and tins live on a spinning base, so you reach one thing instead of moving three.
Should the machine go on the riser? Keep it on the counter. Risers are rated for mugs and jars, not for something you press down on every morning, and a wobbling brewer is how you find that out.
Pick the riser if your problem is footprint. Pick the turntable if your problem is depth, meaning you keep taking things down to get at the thing behind them.
What if there's no free counter at all?
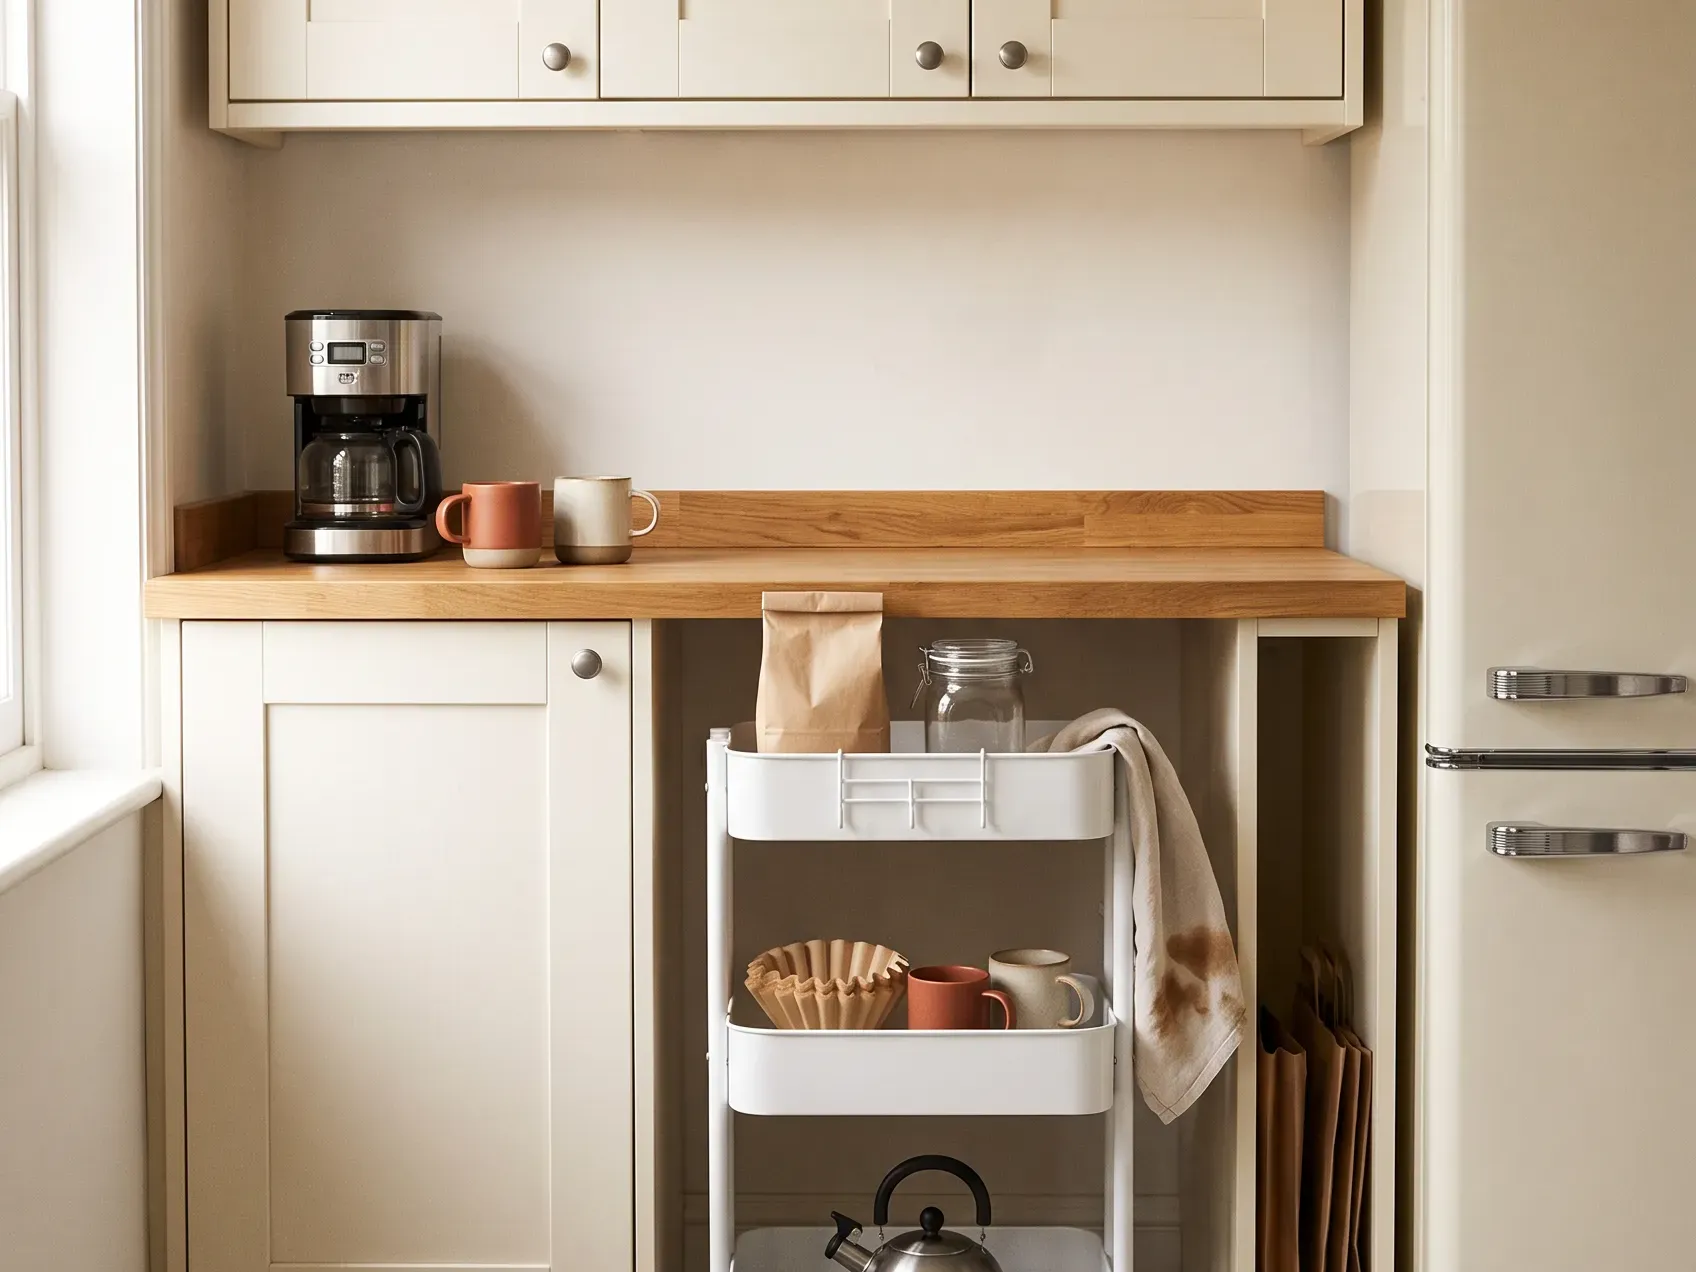
Use the gap beside the fridge. Almost every kitchen has a dead slot about as wide as a cereal box between the fridge and the wall or the cabinet run. It collects dust and a broom. It is also exactly the right shape for a coffee station.
A slim rolling cart turns that slot into three shelves without taking a single inch from your counter. It pulls out when you're making the drink and goes back when you're done.
- Measure the gap at its narrowest point, usually the fridge handle, not the fridge body
- Subtract about an inch so the cart clears on the way out
- Check the cart rolls on your floor type, since thin wheels stall on thick vinyl and grout lines
Should you get a full bar cart instead? Only if you have the floor for it. A standard bar cart is beautiful in photos and needs roughly the footprint of a dishwasher, which most rentals cannot spare in a kitchen.
Where does the cord go? Decide before you buy. A cart that lives in a gap has no outlet behind it, so either the machine stays on the counter and the cart holds everything else, or the cart parks within reach of a plug when you're brewing.
Pick the slim cart if your counter is genuinely full. It's the only idea here that gives you more shelves than you started with.
Can you build a coffee bar on the wall without drilling?
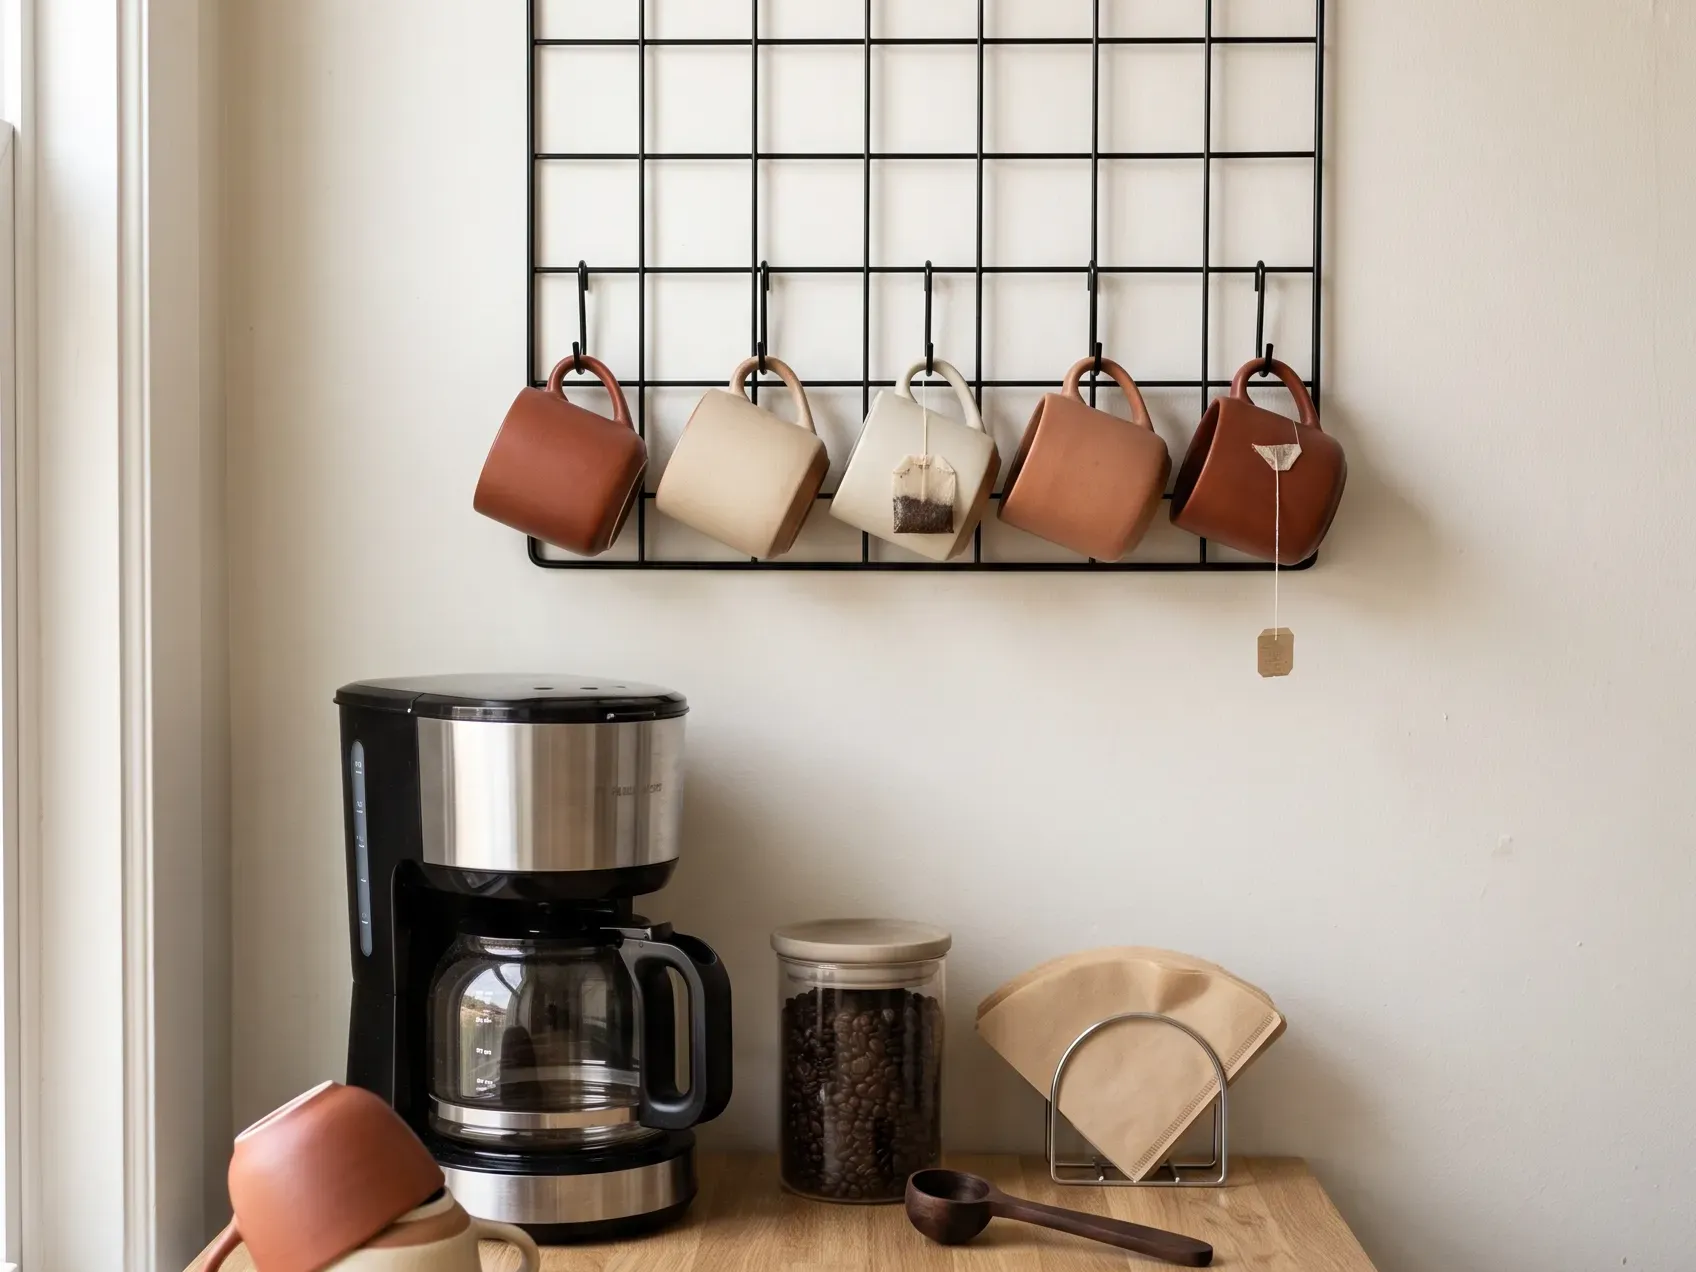
Yes, with a wire grid panel and adhesive strips. A grid takes the mugs off the counter and onto the wall, and the good ones mount with heavy-duty adhesive strips instead of anchors. Your deposit stays where it is.
This is the one that changes how the corner feels. Mugs on hooks read as a coffee bar. The same mugs stacked next to the machine read as dishes you didn't put away.
- Trust the strip rating, not the panel. Mugs only; glass and anything heavy stays in the cabinet
- Clean the wall with rubbing alcohol first. Not a damp cloth. Adhesive fails on kitchen walls because of the invisible film of cooking grease
- Give it a full day before you load it. The strips need to cure, and this is where most people get impatient and lose a mug
- Skip textured or freshly painted walls. Adhesive and new paint peel together
How many mugs will it actually hold? Fewer than the photos suggest. Plan on four or five everyday mugs spaced so they don't knock together, and keep the rest in the cabinet.
Renting somewhere strict? The same damage-free logic covers the rest of the walls in our guide to decorating without drilling.
Pick the grid if you have wall but no cabinet space. Skip it if your only free wall is behind the stove, since grease and hanging mugs don't mix.
Our picks
Similar finds on Amazon
Why does the coffee corner always look dim?
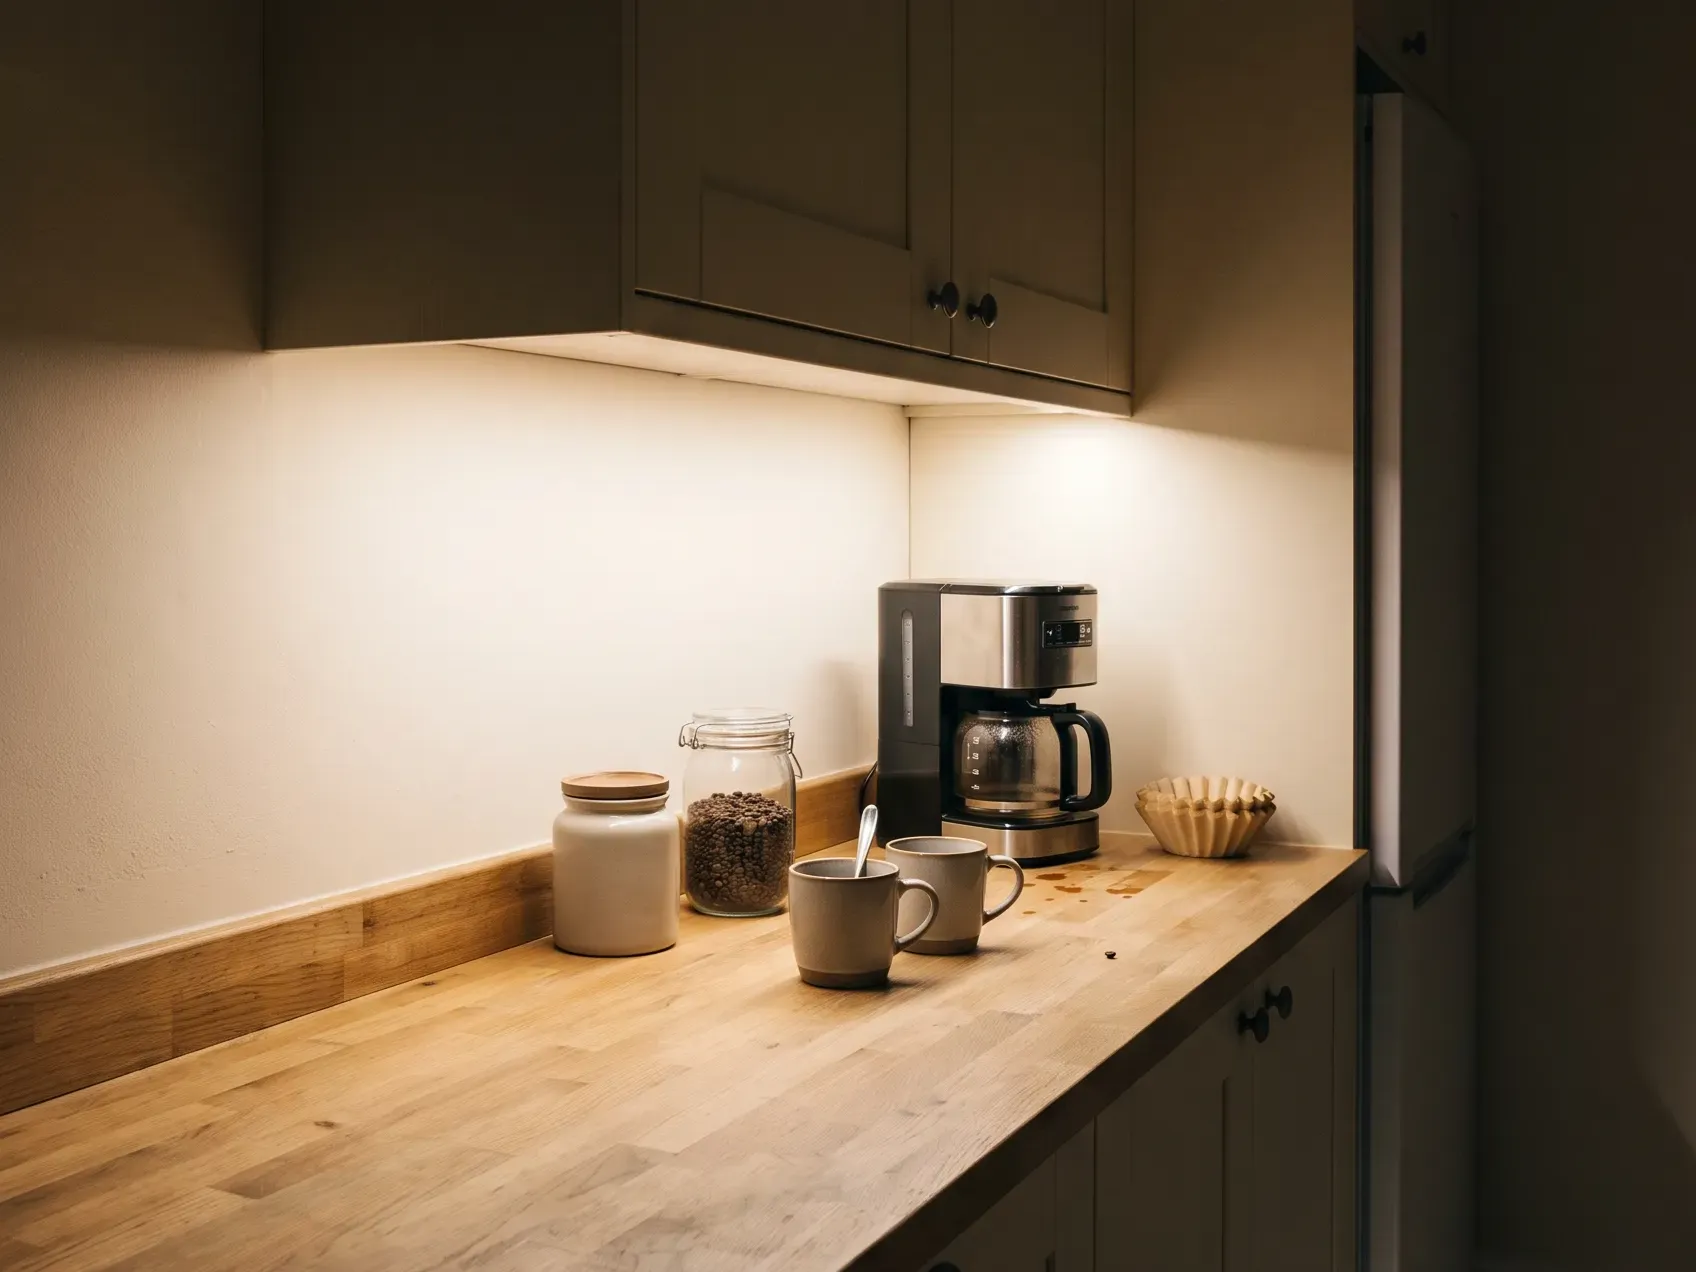
Because it sits under a cabinet, in its own shadow. Your ceiling light is behind you, the cabinet blocks what's left, and the one part of the kitchen you use before sunrise is the darkest square foot in the room.
An under-cabinet light kit fixes it in a few minutes with no wiring. The strip hides under the cabinet lip so you see the pool of light on the counter, not the diodes.
- Get 2700K, not daylight white. Cool white makes a kitchen at 6am feel like a waiting room. Warm is the whole point of a coffee corner
- Mount it toward the front lip of the cabinet. Pushed to the back, it lights the backsplash and leaves your hands in shadow
- Plug-in beats hardwired in a rental. No electrician, and it comes with you when you move
- The cord has to reach an outlet without crossing the sink, and that is what decides which cabinet gets the strip
Switch, remote or motion sensor? A remote wins for a coffee corner. You reach for the machine with one hand full, and a switch tucked under a cabinet is exactly where you can't see it before sunrise.
No cabinet above the station? Run the strip under the riser's top shelf instead. Same trick, and the light lands on the counter where you need it.
Pick this if your station lives under a cabinet, which is most of them. It's the cheapest change on this list and the one people notice first.
Our picks
Similar finds on Amazon
What makes a coffee corner look deliberate?
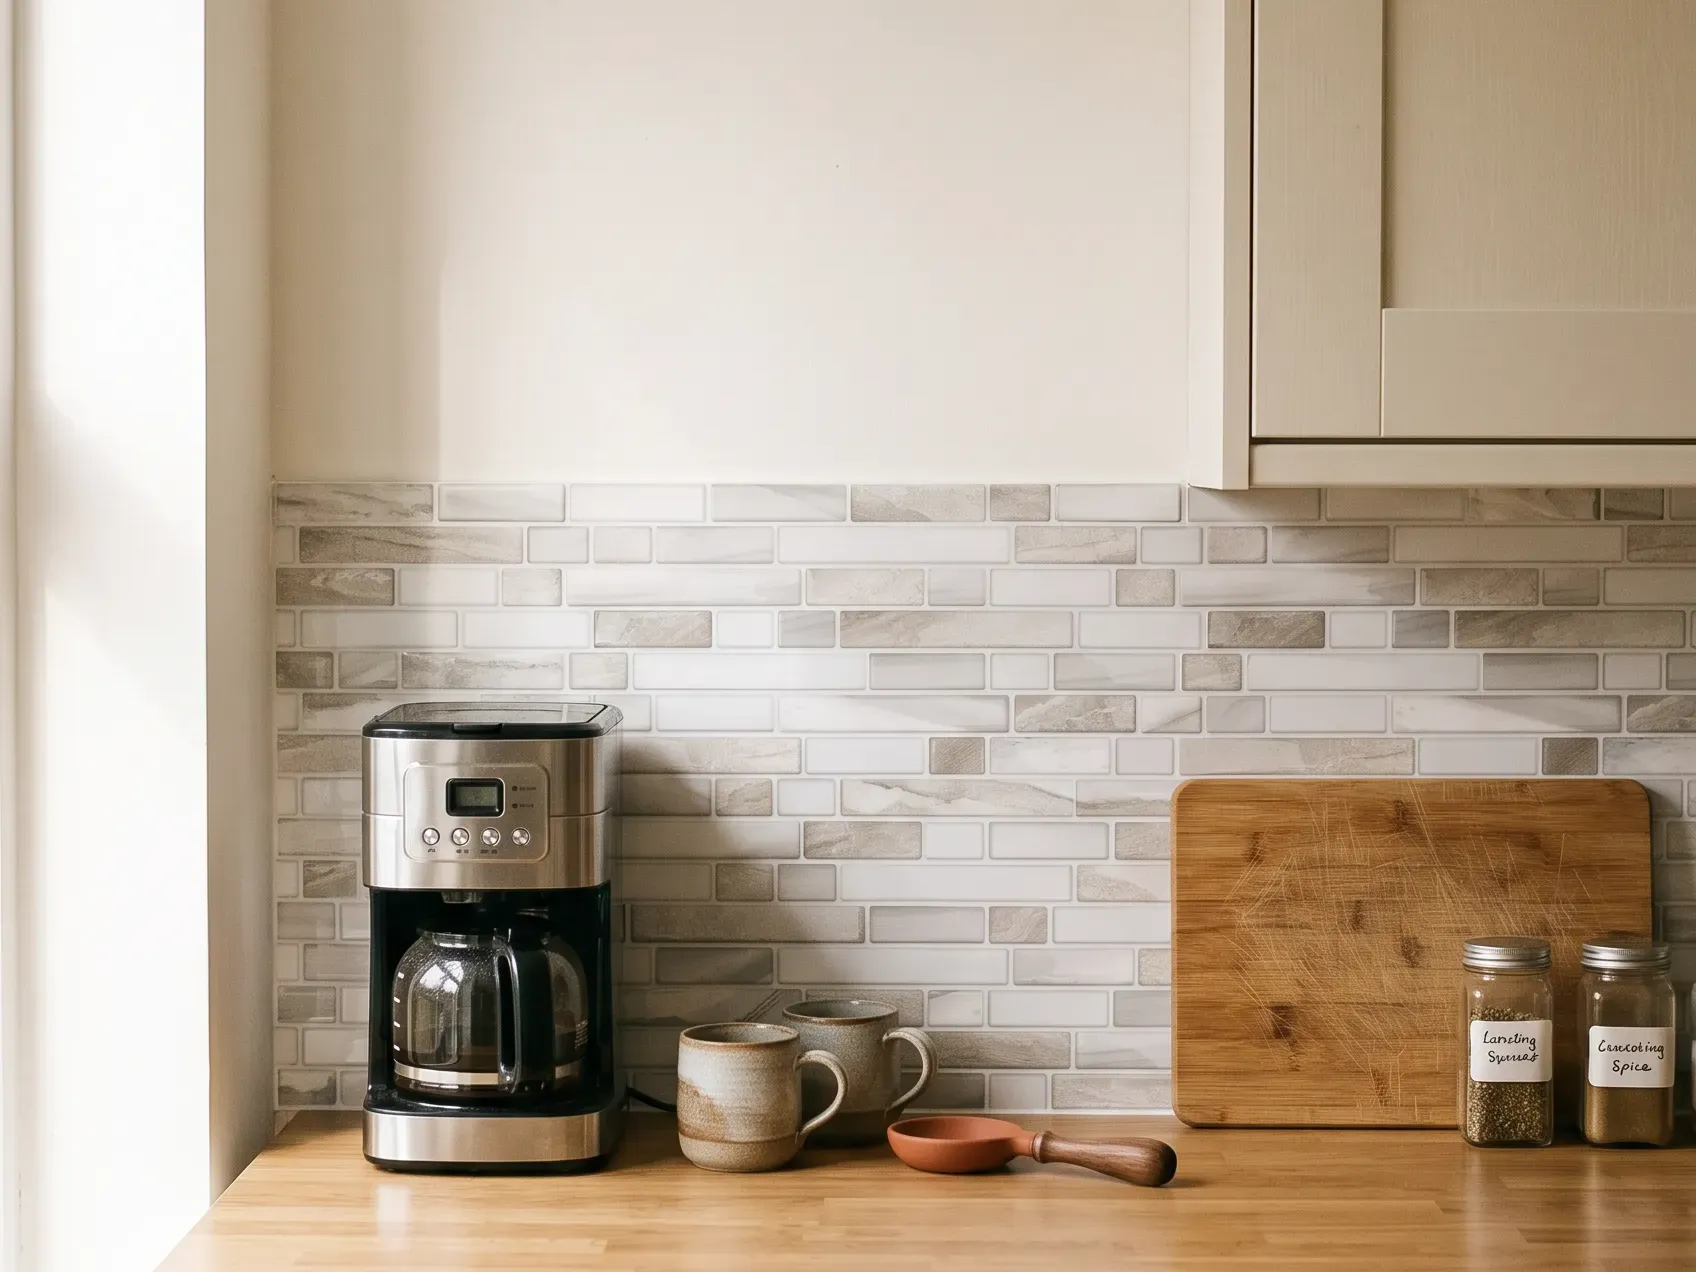
The wall behind it. A station against a blank builder-beige wall looks like objects that got left there. The same station against a defined backdrop looks like a decision, even though nothing on the counter moved.
Peel-and-stick tile is how renters draw that line. You're covering the width of the station, not the kitchen, so it stays a small job.
- Measure only the width of your station and go up as far as the cabinet bottom
- Wipe the wall with rubbing alcohol and let it dry fully
- Start from the center and work out, so the cut pieces land at the edges where they read as intentional
- Warm the corners with a hairdryer on low if they lift
Will it come off cleanly? On smooth, fully cured paint, usually yes; slow heat helps. On textured walls (or paint under a few months old) don't risk it.
Does it have to be tile? No, but it has to be wipeable. Steam and milk splatter land on this wall daily, so peel-and-stick vinyl or tile beats anything paper-backed.
Pick this if your station is against a bare wall. Skip it if the wall is already busy, since tile plus patterned paint is where the corner goes back to looking cluttered.
Our picks
Similar finds on Amazon
Where do the used coffee grounds go?
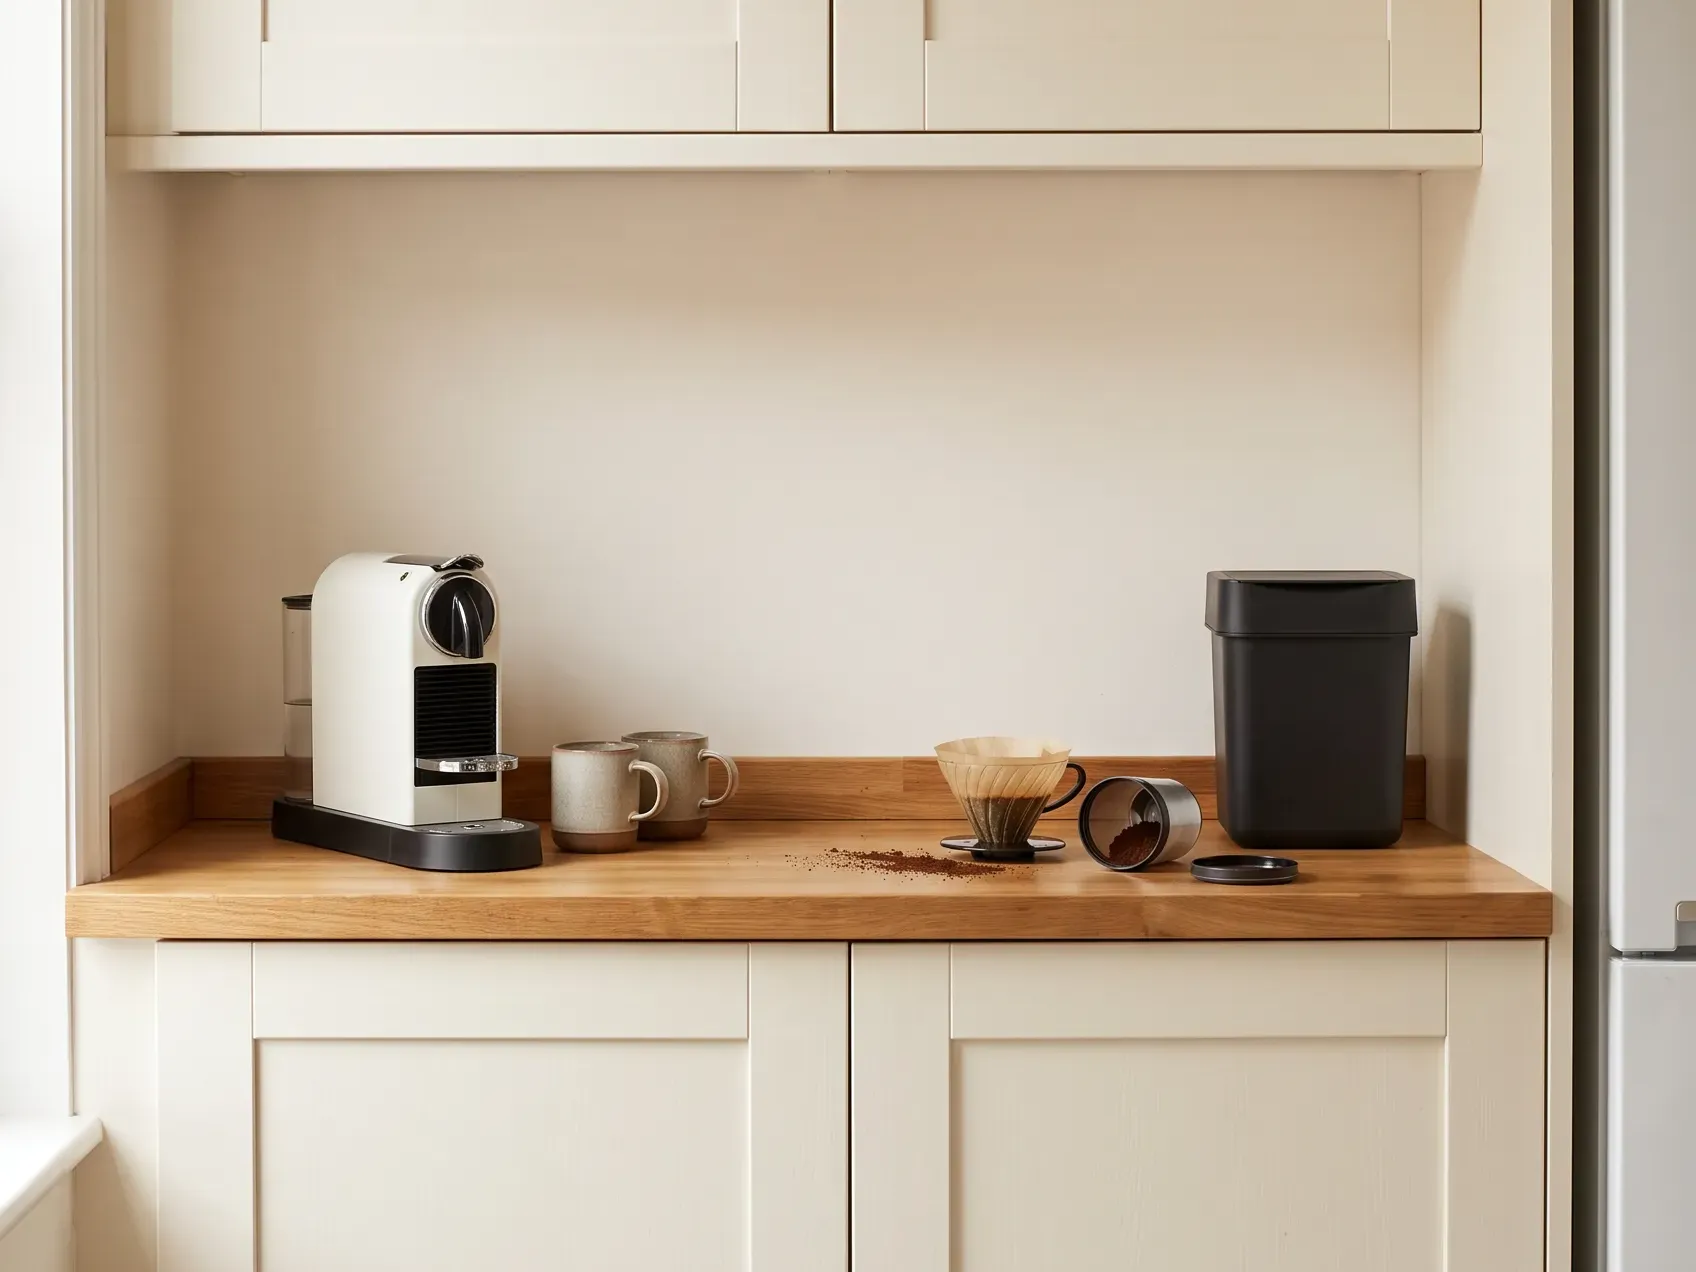
Into a small lidded bin that lives at the station. Every setup gets photographed on day one and looks great. By week two there's a puck of used grounds on a paper towel beside the machine, and that one thing undoes all of it.
A small lidded bin at the station solves a problem that the kitchen trash can't, because the kitchen trash is three steps away and three steps is enough to make you leave it on the counter.
- Small on purpose. It should hold a few days, not a week. A big one just means a stronger smell before you empty it
- Lid, always. Wet grounds go sour faster than you'd think, especially near a warm machine
- Removable inner bucket, so you can rinse it in the sink without carrying the whole thing
Can't you just use the kitchen bin? You can, and most people stop after a week. The whole reason a coffee bar works is that one drink's worth of everything sits in one place, and the grounds are part of that drink.
Does it need to be a compost bin? Only if you actually compost. Otherwise a plain lidded bin does the same job without the filter to replace.
Pick this if you brew with grounds or pods rather than instant. It is the least exciting thing on this list and the one that decides whether the corner still looks good in a month.
Our picks
Similar finds on Amazon
Riser, fridge gap, or wall. Go stand in your kitchen for a minute before you buy anything, because there is usually only one of the three that was ever going to work in your room.
Then light it. A warm strip under the cabinet does more for how a coffee corner feels than anything else here, and you can undo all of it on move-out day.
Sorting out the rest of a tight kitchen at the same time? The same logic runs through our small kitchen must-haves.